|
Abstract -- This document presents the generalities of the Phase
2 tool kealahou K2 and the basic concepts used to prepare QSO
observations. This document applies to ESPaDOnS (semester 2022A and
onward), SPIRou, and MegaCam (semester 2024B and onward).
Keywords -- Purpose of K2, Technical notes, K2 interface, Observing Groups, Exposures and data distribution, PI-defined calibrations, Contact information. |
K2 is a web-based tool that allows PI of accepted QSO proposals to prepare a full description of their observations. This description is stored in a database, which is used to prepare queues of possible observations. PI can tell the QSO Team what to observe, how, and when.
Users unfamiliar with CFHT's QSO operations should consult the document Queued Service Observing at CFHT - How QSO works at CFHT .
In K2, all the information for a program is found and entered on the same page.
Within a section, items are defined by using "Add new +"; you may
edit a saved item by clicking on the pencil icon at the far right, and
you
may delete an item by using the trash icon also located at the far
right. At the bottom of each section, you can control the number of
items shown at the same time (the default is 10) without having to page
through, and you may also move through pages of content.


When entering a new item, you can use the
"Tab" key to move from one field to the next, or click on the desired
field. The information entered in K2 is saved
when the "Apply" button is clicked. Mandatory fields that have not been
entered will be shown in red; the "Apply" button is greyed out until all
mandatory fields have been provided. There is no submit button.


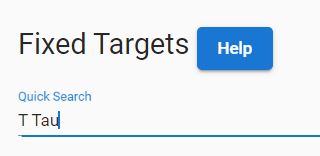
Once items have been entered, you may search for specific ones in
each section, by using "Quick Search". You may also sort items in any
section by clicking on a column header.
Within K2, help is available
through "Help" buttons provided for each section; the "Help" buttons are
linked to the various sections of this tutorial. Within K2, tool tips
are also available by hovering over the "?" symbols shown throughout the
page.


The Print View button found at the top of the page creates a customizable summary of the program.
OG are the entities selected from the database, put in the queues, and executed at the telescope by the Remote Observer. This subsection explains which entities make an OG.
Each OG associates a target (either a Fixed Target or a Moving Target) with an Observing Template (OT). An Observing Template includes information for the instrument's configuration (e.g. the use of the polarimetric mode and the exposure time) and the sky conditions or constraints that have to be met. The SNR goal also has to be indicated. One OT may be used later to create more than one Observing Group.
For Fixed Targets, the name entered can be resolved automatically to fetch the coordinates and proper motion. Equinox 2000.0 is assumed! Additional information like the magnitude and temperature are also required. Finding charts can also be automatically created.
For Moving Targets, ephemerides have to be uploaded from a file. A template file with the proper format is provided within K2.
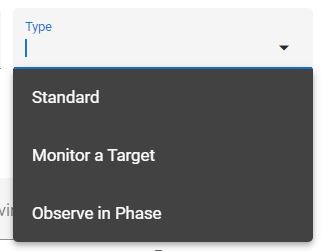
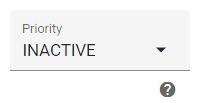
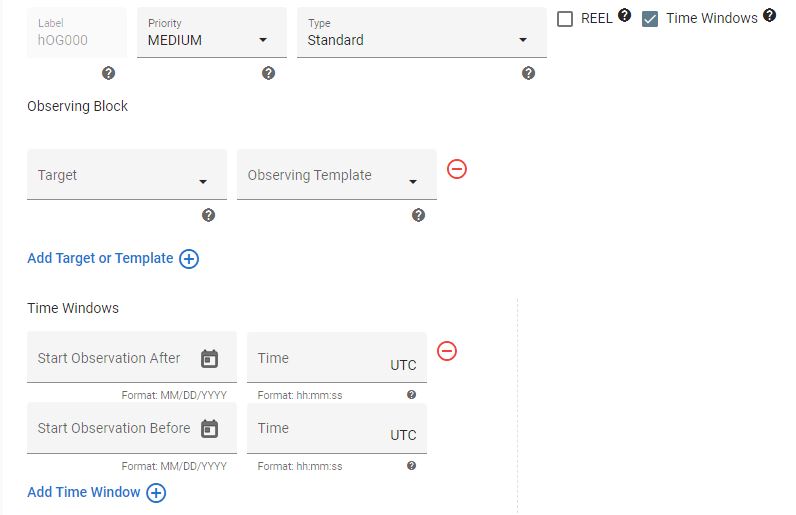
The simplest OG are of the Type "Standard" and are used to observe a target, once, without any time constraint. Targets that need to be observed more than once, with a regular period, are of the Type "Monitor a Target". Targets that need to be observed at a specific time or phase, based on a start time and a period, can be setup using "Observer in Phase". In addition to selecting the Type of OG, a Priority (High, Medium, Low) has to be selected. An OG can also be made Inactive if it is not to be observed.
Two OG that must be observed in sequence, with a delay between the 2 OG, are described by using the REEL checkbox.
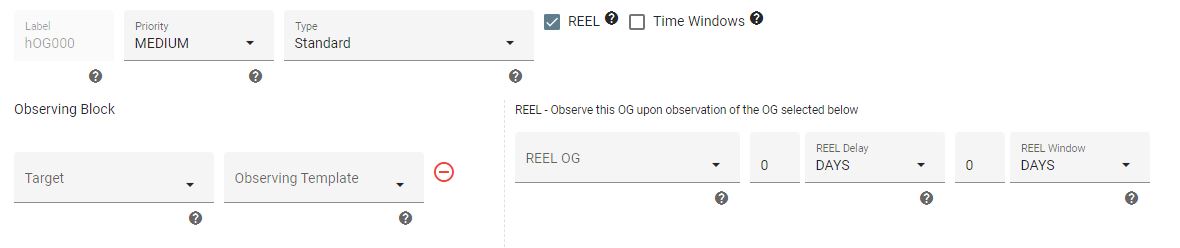
To observe a target only during specific time windows, click the checkbox "Time Windows" and enter as many windows as needed for that OG. Note that the information entered is a time after which the OG has to start, and a time before which the OG has to start. The dates and times are entered in UTC, and a conversion in HST is provided below the input boxes.
A log of all exposures taken for a program is presented at the bottom. A Distribution button sends the user to a private URL where all the data are available for downloading.